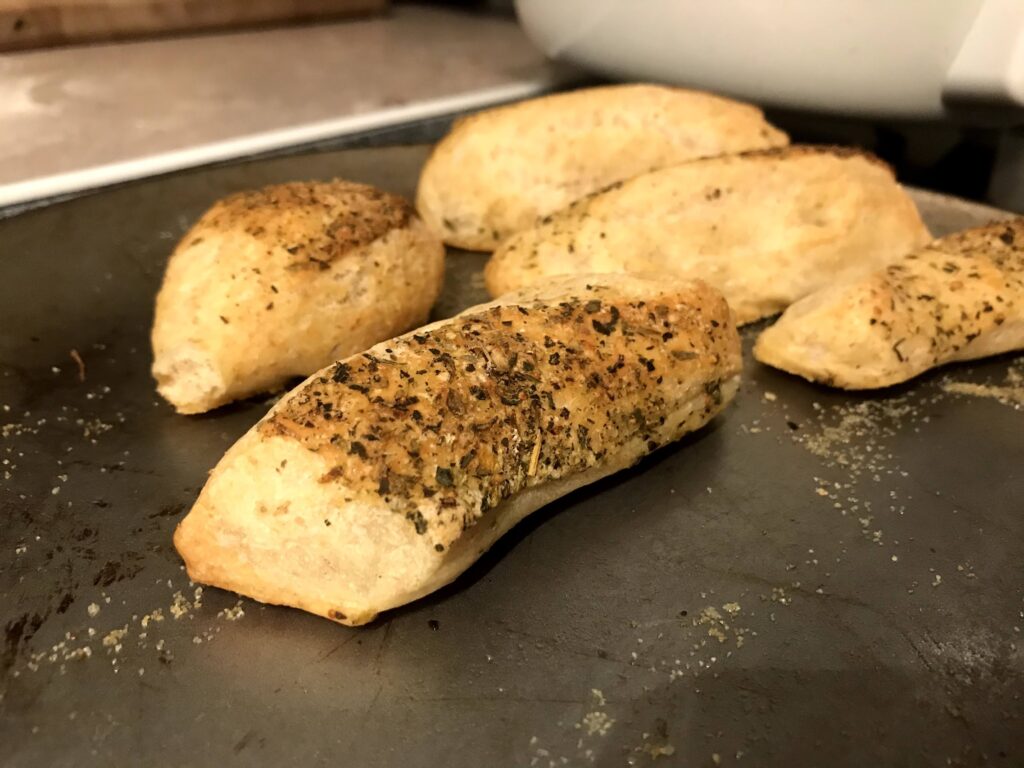
Fresh baked garlic breadsticks are a restaurant favourite that are easy to make at home. Start with basic bread dough, add some seasonings, and bake!
Breadsticks bake even quicker than bread. These garlic breadsticks are a delicious side dish.
The dough is simple; it contains just flour, salt, yeast, and water. You can make just a few breadsticks or a large quantity simply by adjusting the amount of dough and increasing or decreasing the seasonings accordingly.
Breadsticks will stay fresh for a day or two, stored in a bag.
Garlic Breadsticks Seasoning Mix
You can use fresh garlic, but I have found that it burns easily, so I recommend garlic powder instead. A variety of seasonings will work, and here is one mix that I enjoy.
- Salt
- Garlic powder
- Nutritional yeast
- Basil
- Marjoram
- Thyme
- Oregano
Instructions for Making Breadsticks
Preheat oven to 380F.
Coat a non-porous cutting board with about 1 tbsp of olive oil.
Take a handful of dough and place it in the olive oil. Turn the dough to coat completely with olive oil.
Flatten the dough with your hands until it is about half an inch thick.
Mix the seasonings together and then sprinkle evenly over the dough.
Cover a baking sheet with a thin layer of olive oil (about 1/4 tsp) and a thin layer of cornmeal. The olive oil and cornmeal will keep the breadsticks from sticking to the baking sheet.
Cut the dough into rectangles. Stretch each piece a bit lengthwise and place on the baking sheet. Keep some space between each piece of dough so they have room to expand while baking.
Bake at 380F for 20-30 minutes or until breadsticks have browned. The breadsticks can be served warm, but should be allowed to cool for at least 5 minutes after baking to avoid burns. They are also delicious when cooled.
Store breadsticks in a bag only after they have completely cooled (otherwise the steam from being warm will make them soggy). They will stay fresh for a day or two, but they will probably be eaten long before then!
The Easiest Artisan Bread Dough
Ingredients
- 3/4 tbsp salt Kosher salt works well
- 1 tbsp yeast Quick rise or instant yeast
- 3 cups water
- 6 cups flour Unbleached flour works best. If using whole wheat flour it is necessary to add vital wheat gluten or use a mixture of whole wheat flour and white flour.
Instructions
- Add the salt, yeast, and water to a large bowl or bucket. Mix them together with a spoon.
- Add the flour to the bowl or bucket, one cup at a time. Measuring out the flour cup-by-cup helps to ensure accurate measurement. If you measure all 6 cups together, the flour can pack down and cause you to end up with too much.
- Stir the flour and the water together using a stand mixer or a wooden spoon. Stir for about 1 minute or until no dry spots remain.
- Cover the dough mixture with a lid (choose one that isn't air-tight so it doesn't explode when the dough rises). Wait a couple hours for the dough to rise, and then bake bread! The dough can be left on the counter to rise or put directly in the refrigerator now. Keep any remaining dough refrigerated for up to a week.
Garlic Breadsticks
Ingredients
- 1 handful bread dough from artisan bread recipe
- 1/2 tsp salt
- 3/4 tsp garlic powder
- 1/4 tsp nutritional yeast
- 1/2 tsp basil
- 1/4 tsp marjoram
- 1/4 tsp thyme
- 1/4 tsp oregano
Instructions
- Preheat oven to 380F. Coat a non-porous cutting board with about 1 tbsp of olive oil.
- Take a handful of dough and place it in the olive oil. Turn the dough to coat completely with olive oil.
- Flatten the dough with your hands until it is about half an inch thick.
- Mix the seasonings together and then sprinkle evenly over the dough.
- Cover a baking sheet with a thin layer of olive oil (about 1/4 tsp) and a thin layer of cornmeal. The olive oil and cornmeal will keep the breadsticks from sticking to the baking sheet.
- Cut the dough into rectangles. Stretch each piece a bit lengthwise and place on the baking sheet. Keep some space between each piece of dough so they have room to expand while baking.
- Bake at 380F for 20-30 minutes or until breadsticks have browned. The breadsticks can be served warm, but should be allowed to cool for at least 5 minutes after baking to avoid burns. They are also delicious when cooled. Store breadsticks in a bag only after they have completely cooled (otherwise the steam from being warm will make them soggy). They will stay fresh for a day or two, but they will probably be eaten long before then!

